Iconic Location
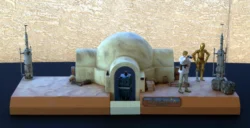
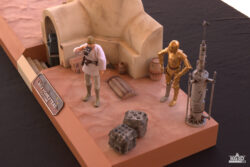
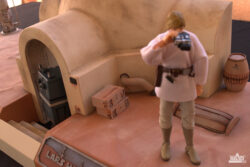
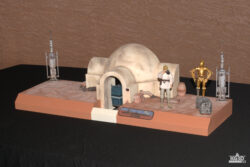
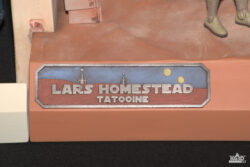
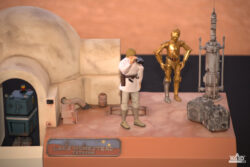
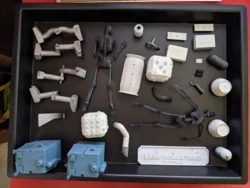
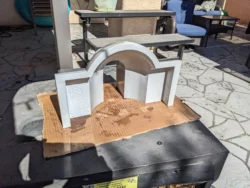
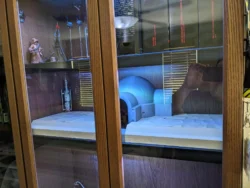
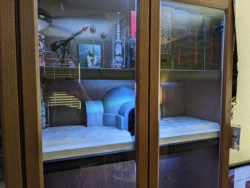
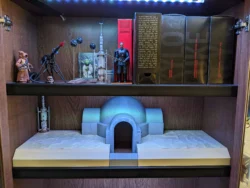
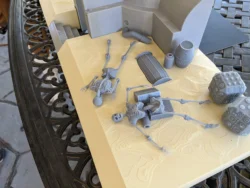
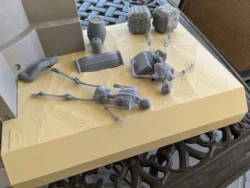
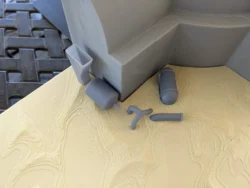
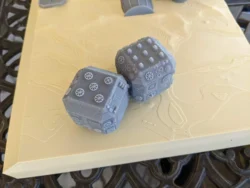
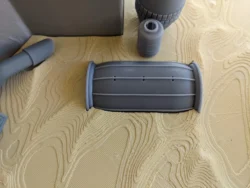
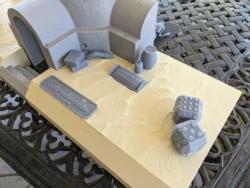
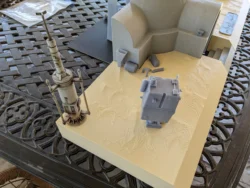
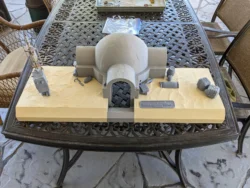
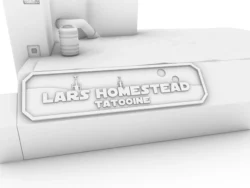
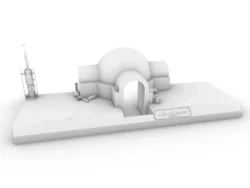
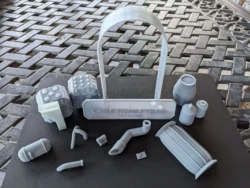
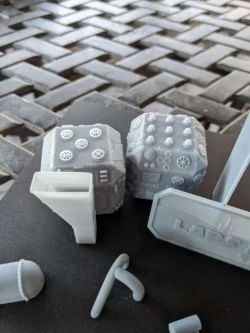
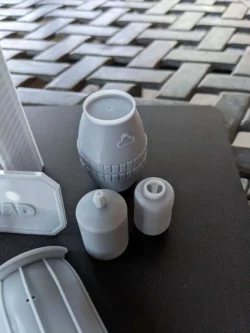
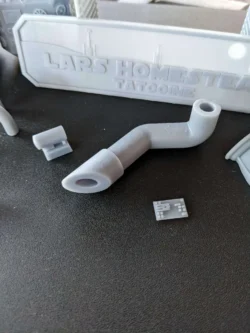
This is my Lars Homestead Diorama piece that I am printing for my display shelf. In my opinion, it is one of the most iconic locations in all of Star Wars, and is the location of several scenes throughout the Star Wars movies and shows. This is another multiformat project, utilizing FDM printing for the large parts, and resin printing for the details and extras.
The STLs for this diorama are now available for purchase from Cults3D for $12!
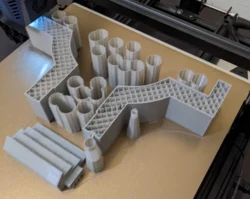
Large Print
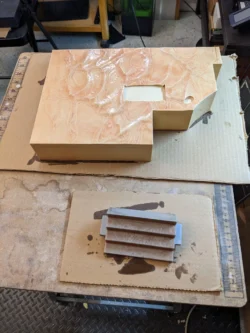
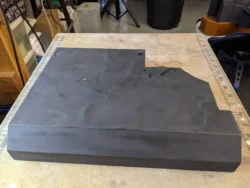
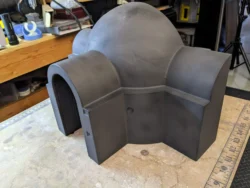
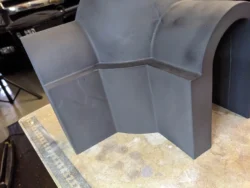
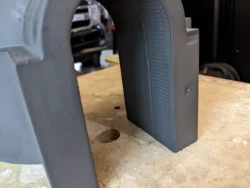
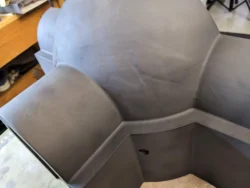
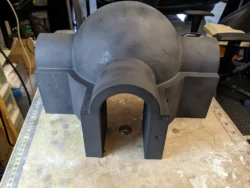
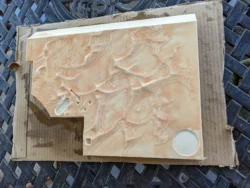
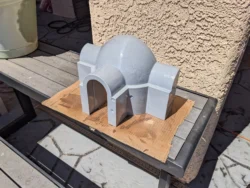
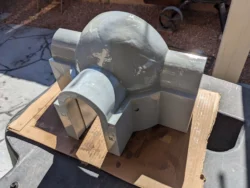
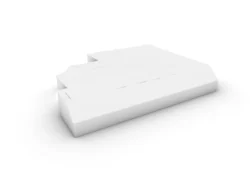
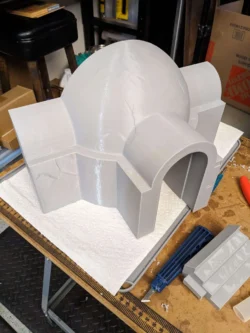
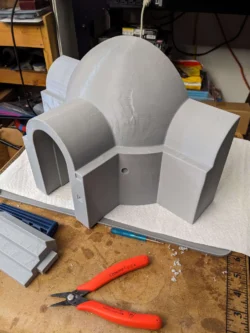
There are 4 large FDM parts. The hut itself, the steps, and the left and right side sand plates. The hut and steps are printed together. 223mm tall. Cura 5.7 says it will take 2 days, 2 hours. The sand parts curiously are also showing right around 2 days each, even though they are only 56mm tall.
I designed the Lars Homestead diorama specifically to fit my Ikea Billy bookcases, but it should fit just about any book shelf. The measurements are 762mm (30″) wide, 255mm (10″) deep and 223mm (8.77″) tall.
Sculpting
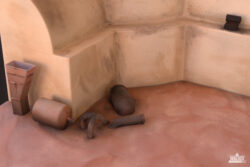
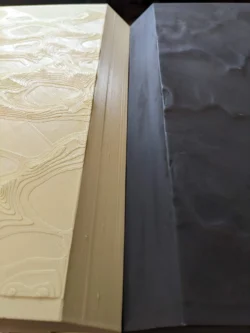
With the Lars Homestead project, I figured out how to make sculpted details on my models. I normally build everything in Rhino, which is a NURBS modeler. Building things in NURBS is ideal for 3D printing. I do not need to worry about mesh density while building the model. When I export, I can dial in the needed mesh density so my round surfaces don’t print like a bunch of flat surfaces. This has always worked perfectly for most of the things I build, which are largely mechanical objects. With this piece, after I built the models, I realized they didn’t have any character.
Sure, it’s the same SHAPE, but it just didn’t look quite right. I started experimenting with the quad-remesh tool in Rhino, and figured out a workflow that would let me build my models in Rhino, export them as an obj with enough supporting mesh that I can bring it into Blender, add a subdivide or 2 and sculpt really great looking details. This was really just the progression of how I built the stand for my Sith Probe Droid model.
Printing
June 21, 2024: All the printing is done for the Lars Homestead Diorama! This weekend I will start on the filling, sanding and painting!
Finishing
Introduction
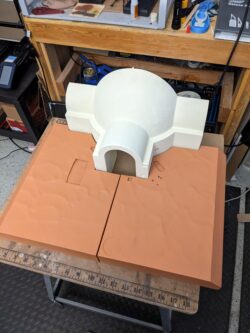
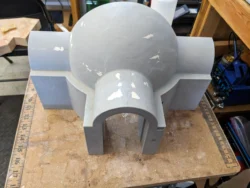
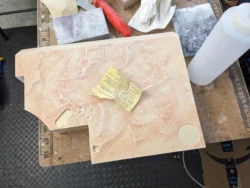
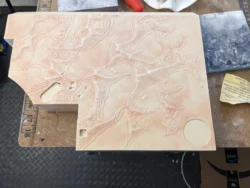
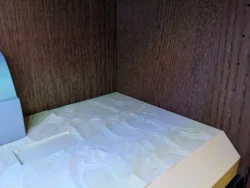
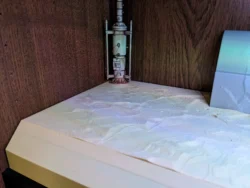
This is really my first time finishing FDM parts, and I decided to try something I have been thinking about for a while. I coated the parts in clear UV resin. Starting with the hut, I just sponged on a coating of clear UV resin, the same stuff I use in my resin printers, and I let it cure outside. It took about four or five 2 minute exposures to direct sunlight to cure it.
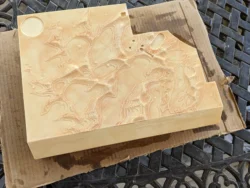
For the left and right sand plates, I decided to switch to a clear red resin that I have. I did this because I used the red for details before, and it started to crisp up after a few minutes exposure to indoor lighting. As I suspected, the red cured completely after just a single 2 minute exposure to direct sunlight.
June 24, 2024
I started filling and sanding the FDM parts of the Lars Homestead on Saturday. The Hut is just about ready for paint. The left sand plate has 1 or 2 more round of filling/sanding to go, and the right sand plate is still untouched.
June 25, 2024
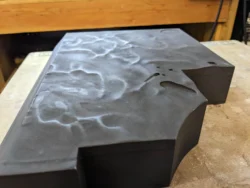
A second coat of resin on the left sand plate did the trick. This afternoon, I got the hut and left sand plate primed. I also got the right sand plate and the steps initial sanding and resin coating done. Final sanding before priming to be done tomorrow morning.
June 26, 2024
Finished sanding and priming everything and then I painted the base coat on all the FDM parts.
June 27, 2024
I primed and airbrushed the base paint on all the resin parts today. Saturday I will detail and weather everything.
June 29, 2024
I got most of the weathering done on the FDM parts today. I ended up having to add the light sand 3 separate times before the flat sealer would stop erasing it completely.
June 30, 2024
I got the rest of the weathering done on the FDM parts and got most of the detailing done as well. Just a few more things to touch up in the morning.
July 1, 2024
It is finished! 38 days from concept to completion. I started modeling on May 24th and finished painting on July 1.
Tags: Complete, TatooineCategorised in: Dioramas
